Proper trail camera use is key
By Jason Shipman
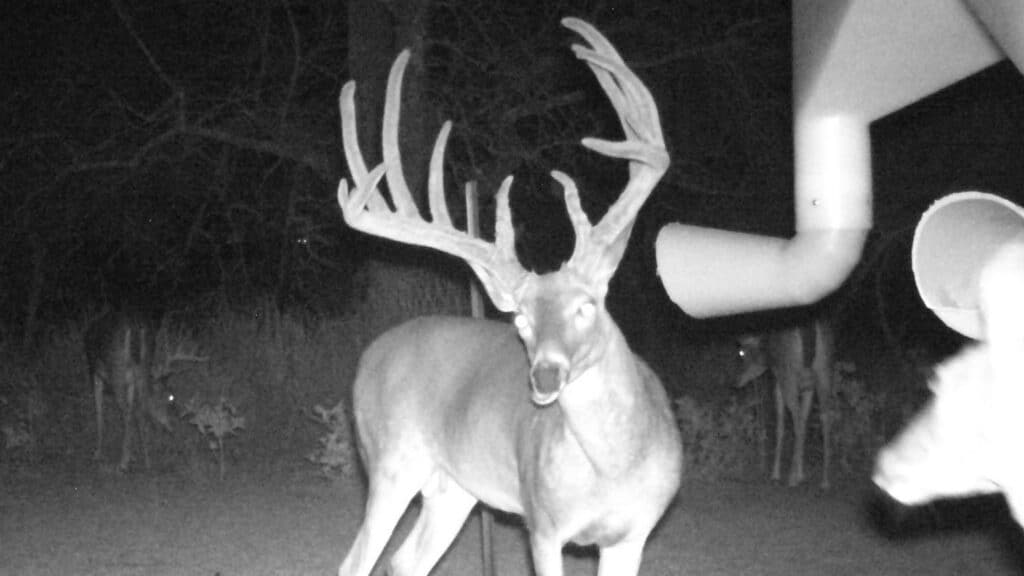
Setting cameras close to your targeted area is paramount for good photos.
Trail cameras have revolutionized the way deer are hunted. Hunting still has its challenges, but scouting has become easier. Busy schedules won’t allow the majority of people to spend as much time in the field as they would like. Trail cameras fill that void, and keep an eye on things 24 hours a day, 7 days a week. Today’s hunters have more information, and as a result, they manage their time more wisely, and in turn, can be more selective with their harvest.
Technology has improved with time and so have trail cameras. The first trail cameras used 35mm film that had to be developed at a photo lab. Today’s digital cameras save photos on memory cards or run on cellular plans, and upload photos to apps that make them immediately accessible to the user.
Cameras have improved along with the quality of the photos they take. Yet, there are still plenty of awful trail camera photos floating around out there every year, due in part to user error. Proper techniques employed when using trail cameras help to ensure better quality images.
No. 1 trail camera use mistake
The most common mistake people make when using a trail camera is setting it up too far from the target area. Everyone wants to see all of the deer at the feeder, and in an effort to do so, they don’t get a good look at any of them. Nobody wants to look at photos and have to wonder what they’re looking at. Is that a split tine? Is that an extra point? Does he have 10 points? Additionally, looking through thousands of photos and having to zoom in on every single one of them is no way to live.
Camera set-ups should be close. Approximately 10-12 feet works best for most models. Use posts for mounting if necessary, with the understanding the deer will become accustomed to seeing the camera trap with time. Cameras should be set waist high and facing north/south to avoid the sun. Look at the trails and where the heaviest deer traffic occurs in the area to determine good camera locations.
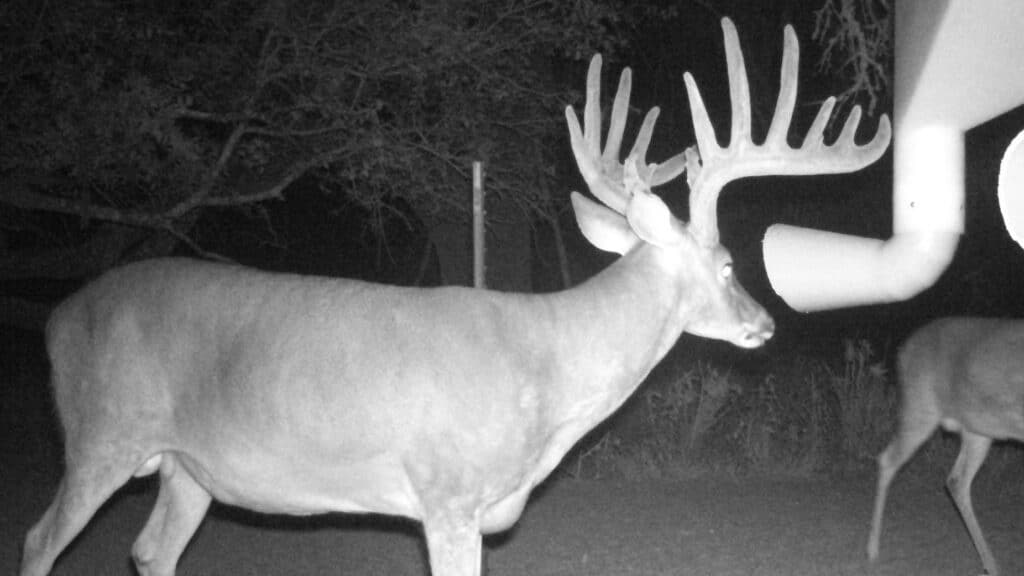
Good, full-framed, broadside shots allow you to study the deer and estimate age.
Camera setup tips
Set cameras perpendicular to where the deer will be standing at the feeder, water trough, or trail, in an effort to get full-framed, broadside shots. If you’re running cameras on feeders, focus on one side of the feeder to get the best photos possible. Don’t forget to trim any vegetation that may get in the way, such as high grass or swinging limbs, and pay attention to what’s in the background.
It’s not uncommon to have hundreds, if not thousands of photos to review when running cameras. Now that you have all of these great photos, you may wonder what to do with them. If you plan on keeping them, organization is key, and I would encourage organizing them into folders and labeling all photos accordingly. If using memory cards, reformatting is a must. Now rinse and repeat the process.
Finally, remember to bring trail cameras inside when finished using them. Whether intentional or not, leaving cameras out for an entire year in the sun and rain will reduce their life span. Over time, the harsh elements take a toll on the housing and electronics and create problems, rendering future use unpredictable and sketchy at best.
These tips will enhance your experience and help to improve the quality of photos you get with trail cameras. You will have a better product to show for your efforts. Some photos go viral these days. Nobody wants to be the person sending out sloppy photos. Put a little extra effort into getting better pics and you’ll be glad you did. Your friends will be too!