With the Fourth of July on the horizon and less than 70 days to go until groups of friends and family start piling into the dove fields, it’s a good time to take a break from pre-season prep work. Up until now, we’ve all been out moving blinds, trimming trees, refilling protein and setting out trail cams, so wouldn’t you agree that it’s about time to focus on a different type of project for a bit? If you’re home for the upcoming holiday weekend and are looking to do something rewarding that will remind you of hunting season, check out this DIY taxidermy project for a really unique pedestal base.
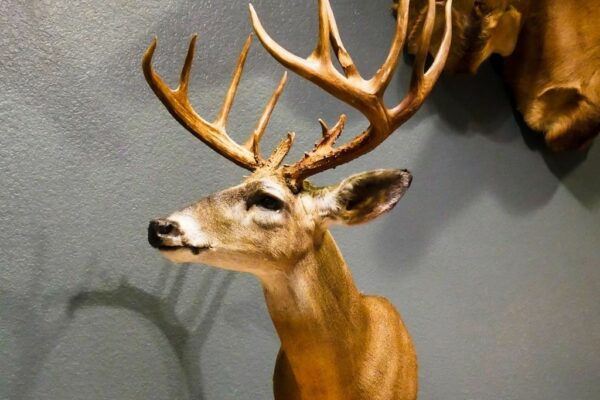
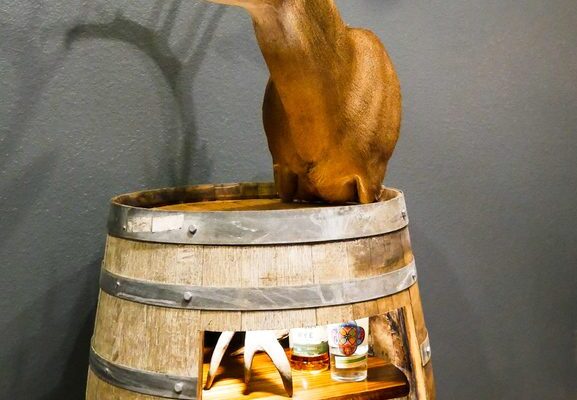
Whether it’s a shoulder mounted buck with some wall habitat or a full body mounted elk, we all choose to display our taxidermy in unique ways to showcase the animal and remind us of the hunt. Last year, I took my very first Scimitar with my bow and what an incredible hunt it was. Between the animal, the experience of the hunt and all of the delicious meat that I came back with, it will forever go down in my book as one of my most favorite hunts. From the get-go I wanted to display this animal in a different way and what I realized was that I wanted it to be the focal point of the room. So, after doing a bit of thinking, I decided to embark on the journey to make a wine barrel cabinet for my pedestal mount to sit on top of. Different, homemade and uniquely mine.
Before we go any further, in no way, shape or form am I a talented woodworker. If anything, I’m closer to resembling Elmer Fudd with a jigsaw in my hand. So, if I can do this project, so can you!
Step 1: Find your barrel!
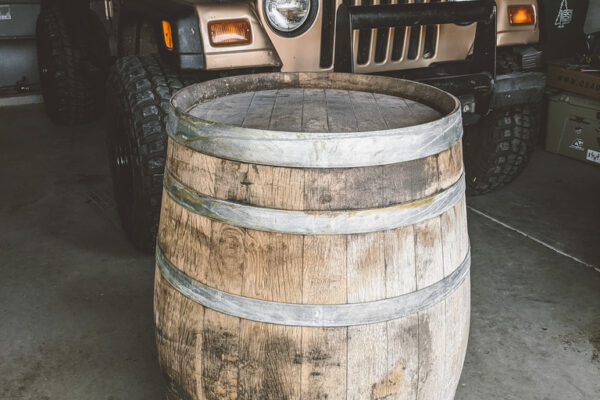
Believe it or not, finding a used barrel is not as tough as it appears to be. Driving through Castroville one day, I saw that the True Value had them for sale right out front. So, I did a quick U-turn and took a look. What I found was a used Stags’ Leap wine barrel that was sitting there looking for a new home. Needless to say, 5 minutes later it was in the back of the truck and headed home with me.
Step 2: Mark the opening
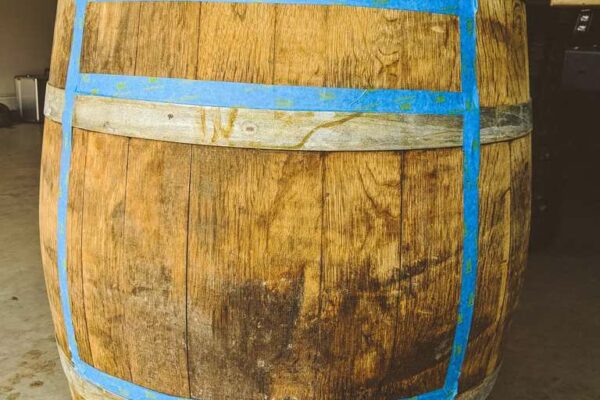
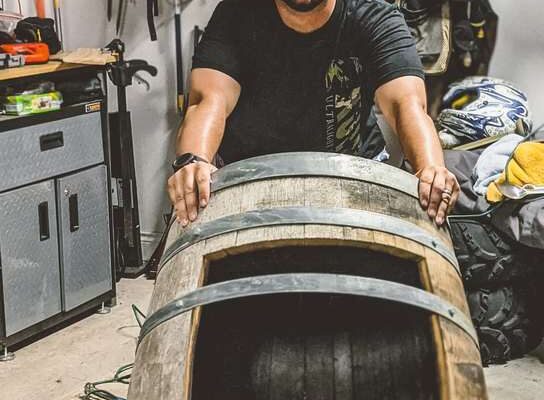
I suggest taking a look around the entire barrel. They are all seriously very different from one another, so between imperfections, stains, weathering and logos, you’ll want to figure out exactly where you’ll want the opening to be. Once you have it figured out, take some painters tape(or something similar with a light adhesive) and mark everything out. Step back, take a look and make sure that it’s exactly where you want it. I found it easiest to follow the vertical edge of the wooden staves to ensure that it would be a straight edge on the sides, once cut out.
Step 3: Screw it down
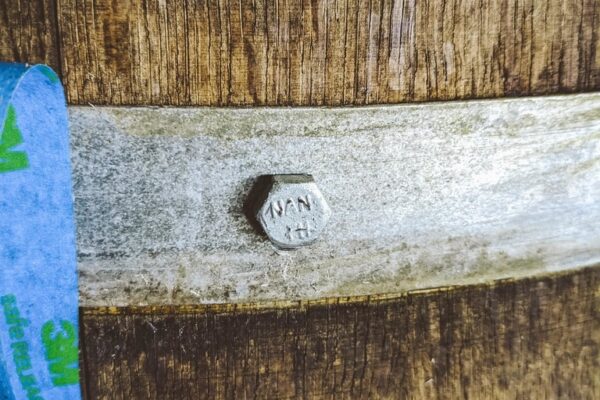
Now before you get the saw out and start cutting away, you must add some additional screws to the barrel first. Because the barrel is now empty, chances are that many of the staves are a little loose. And so if you cut the barrel wide open without securing any of the metal bands, there is a slight chance that your barrel could fall apart. To make this a non-issue, I went to the local hardware store and picked up some 1 ¼ inch galvanized hex head lag screws. Essentially, these screws are just there to help strengthen the outside of the barrel, specifically on either side of any bands that will be cut. On my particular barrel, I only had two spots that needed these screws, however to keep things balanced, I added them on all of the bands in the same spots. Mark your spots with a pen, drill a pilot hole through the metal band and install the screw to tighten everything down.
Step 4: Cut the opening
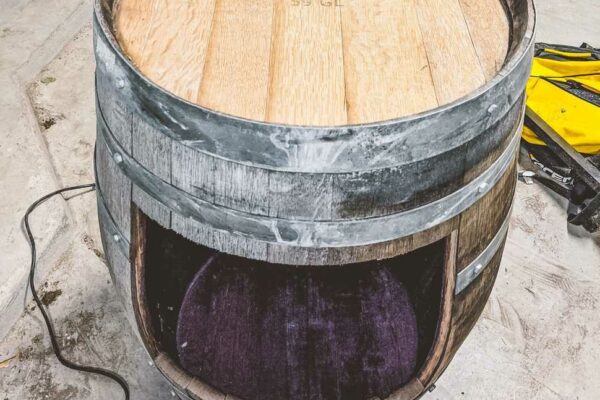
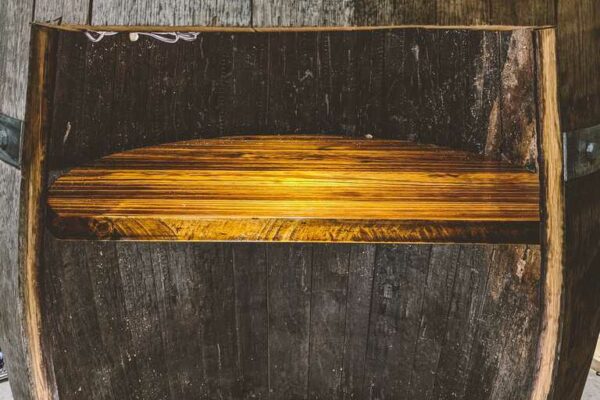
Now that the bands on the outside of the barrel are reinforced, it’s time to cut. Yes, you really get one shot at doing this right, but it’s only two cuts! To make life easy, I decided to use a jigsaw and leaned the guard right against the top band. This ensured that I would end up with a straight cut and a nice gap of wood to frame out the opening. Helpful tip: since you are only cutting horizontally, make sure that you don’t cut past your last stave or it will leave a saw mark. Once both top and bottom are cut, take a hammer and punch out the cut staves. Before we continue, the chef in me also must tell you that these are great pieces of wood for barbecuing, so don’t throw them out! Cut them into smaller chunks and keep them near your pit, the flavor of wine or whiskey soaked oak is a wonderful thing.
Step 5: Cut band and file the sides
At this point, it’s all downhill. You can cut the metal band with a hand saw, though I opted to use the same jigsaw with a metal blade on it. Once you cut the band, it’s really important to file down the edges of the metal to remove any sharp spots.
Take a break, unplug that saw and have a beverage, the hard part is out of the way.
Step 6: Add lights
When you peek inside the barrel, you’ll see that adding a few lights will be key to making this project come alive. With the help of some cheap LED lights from Amazon and a few hidden staples, your barrel is going to enter a whole new level of awesome. I ran the wires on the front side of the barrel and used any gaps between the wood staves to hide the wiring. The end result is extremely clean from the front. And best of all, you can drill a small hole through the bottom of the barrel to run your plug to the wall.
Step 7: Add shelving
Depending on what the inside of your barrel is going to hold, you might want to add a shelf or two. I ended up adding one upper shelf(glued pine rounds), supported by four L brackets and then a round lazy susan on the lower part of the barrel. This gives me plenty of storage and easy access to anything that is in the lower portion of the barrel. If you’re looking to add the lazy susan to your project, here is the turntable that I used. Sand down, stain and polyurethane the shelves for a great shine and finish.
Step 8: Add your mount
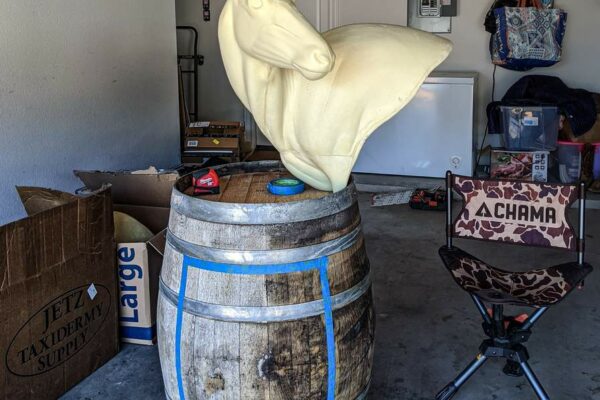
Depending on how large your specific mount is, you might need to add a pedestal post to your barrel in order to help keep it upright. For some projects, a large screw into the underside of the pedestal will also work if the form has a piece of wood underneath. Here’s a photo of where my scimitar will be mounted once it returns from the taxidermist. I can’t wait!


