
Way back when I first got into scouting for deer, trail cameras weren’t really a thing. For goodness sake, half of the information that I used was based on what one of the neighbors mentioned as we ran into each other at the gas station. Needless to say, things were a little bit more simple then, and scouting for deer during the summer was based on three things; sign, intuition and local knowledge. But, life as we knew it back then is much different than it is now, that’s for sure. For one, the technology that we have at our fingertips has completely revolutionized the way that we are able to gather intel on big bucks, especially as they progress through the summer. Between digital mapping software, trail cameras and insanely accurate weather maps and forecasts, becoming a wizard on your hunting property is easier to do now than ever before. Though contrary to what many people believe, having this information doesn’t exactly guarantee you a monster whitetail in the back of the truck come this October.
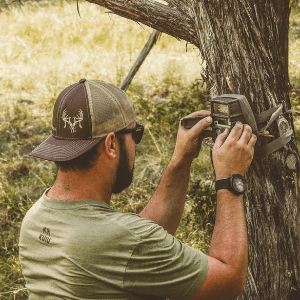
Now if you know me, then you know that I’m bound to run at least a dozen trail cams at any given time throughout the year, especially during the summer. And, yes, part of the reason is because I just need an excuse to get into the woods when it’s not deer season. Though the real reason is because it makes me a stronger hunter come this fall. And over the years, I’ve learned a bunch about what works and what doesn’t. So, for those of you who are new to running summer trail cameras, here are five tips on how to make the most of the summer scouting season.
1: Stay Organized

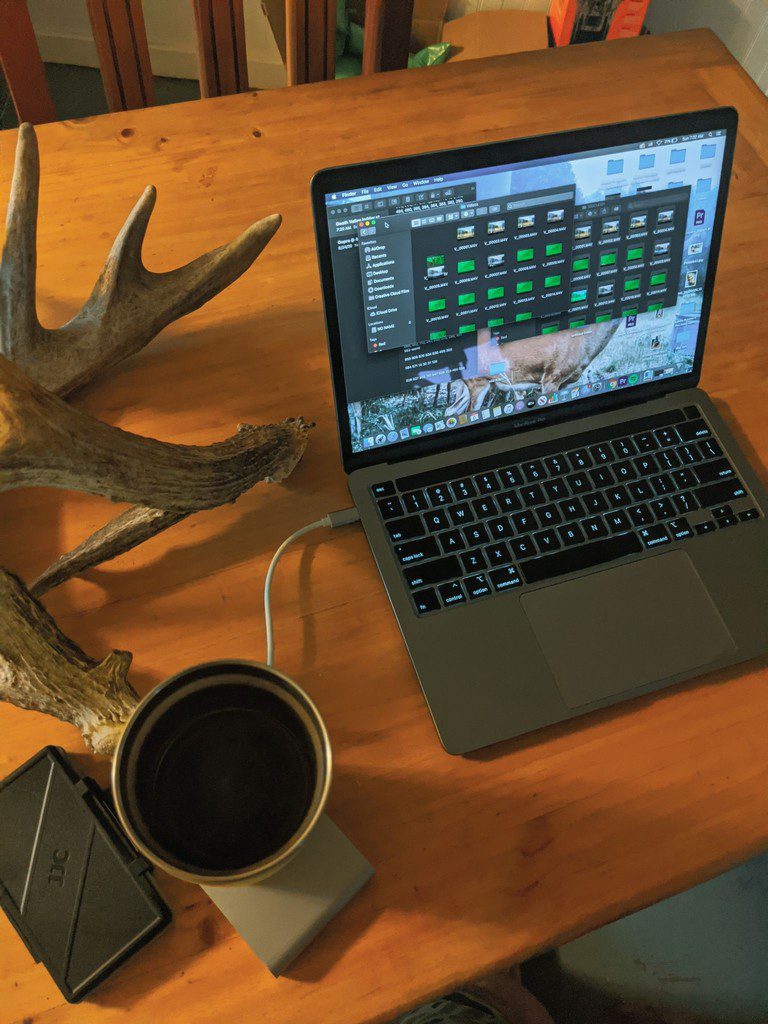
It doesn’t matter whether you’re hunting a high fence ranch, a low fence tract or even a piece of public land(although, make sure that you’re able to put trail cams out on specific public land first), having the ability to understand what’s in a specific area is essential to being in the right spot this fall. This is also incredibly helpful for those who might be limited to only hunting for a short time during the upcoming season. It might sound a little over the top, but if you’re running multiple cameras or decide to cover multiple areas, do yourself a favor and get organized by creating folders on your computer. After a summer of scouting and collecting hundreds, sometimes thousands of photos, it’s a total disaster to go back and find certain images. Stay organized, it’s going to help you in the long run. If you want to take it one step further, mark where you’re seeing bucks on a map. I find that it helps to visually see where a deer’s home range is during this time of the year.
2: Give The Camera Time

I think that one of the biggest tips that I could give someone new to running trail cams is to give it time before pulling it; especially if you’re in a new area. In a way, it’s kind of like fishing a new pond. By throwing only a couple of casts, do you really know how good that body of water is? I’ve hunted plenty of new tracts of land and the only way to rule out a spot is to give it a couple of weeks at a minimum. Now, depending on the size of the property and how many trail cams you have at your disposal, this could be difficult to do– but trust me, let them sit and let them watch. For one, it might take a couple of days for a spot to calm down after you got in there, placed a feeder, cleared some brush and left your scent. So, letting any given spot get back to normal might take a little bit. Don’t be impatient and let the camera do the work for you.
3: Keep a T-Post Mount Handy

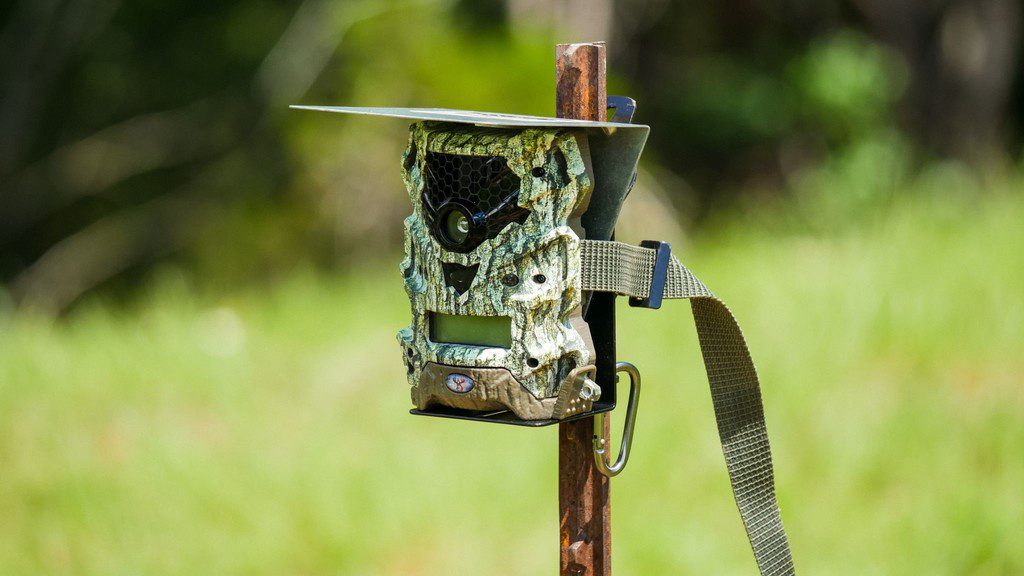
Before I hunted South Texas, I never had difficulty finding a tree to position my camera on. In fact, it was never an issue. But then, when I moved to hunting the brush country, finding good spots to hang cameras became a real issue. I mean, sure you can usually find some brush to connect to, but half the time it’s not in the location that you really want, and that’s just not good enough, especially when you’re trying to pinpoint specific bucks. Recently, I came across this t-post mount from Gunnyart and it’s honestly been a total blessing for those tough “treeless” spots. It literally converts an ordinary t-post into a rugged trail cam mount that can be driven into the ground just about anywhere. A really helpful unit to keep in the back of your side by side.
During the summer, I put a lot of cameras around the water and on our property tree’s aren’t located right next to these tanks. The T-Mate has been a surefire way to keep a camera rolling even when there aren’t any hangable options in sight. This additional piece of gear also is really helpful when running cameras in the middle of an open field. I also shouldn’t forget to mention that they make a “T-Shade” for it and it’s incredible how much sun it blocks from the lens, a must have for capturing clearer photos in sunny areas.
4: Use Video Mode!
Pictures of deer are good, but videos of deer are always better, especially when you’re in the right area. If you’re in the market for a new camera, I highly recommend getting one that has the ability to switch between photo and video. Videos aren’t just more fun to watch back at home, they also provide more information than photos do. Videos are especially helpful when you’re trying to understand what direction the deer are entering and exiting a certain spot.
What I typically do is run a camera until August in photo mode and then make the switch to video. This will allow me to capture a bunch of photos during the first part of the growing season, which is also easier to sort through. Once I’m zeroed in on a particular spot or a particular deer, switching to video makes sense. Remember that videos take up a lot more space on your memory card and will drain batteries quicker than photos, so be sure that you have fresh batteries and a larger SD card. From a settings perspective, I like to run a 10 second video with 2 minute intervals between clips. Over the last couple of years, this has given me thousands of clips, with tons of information and even some bucks I didn’t recognize.
5: Know Your Camera and It’s Settings
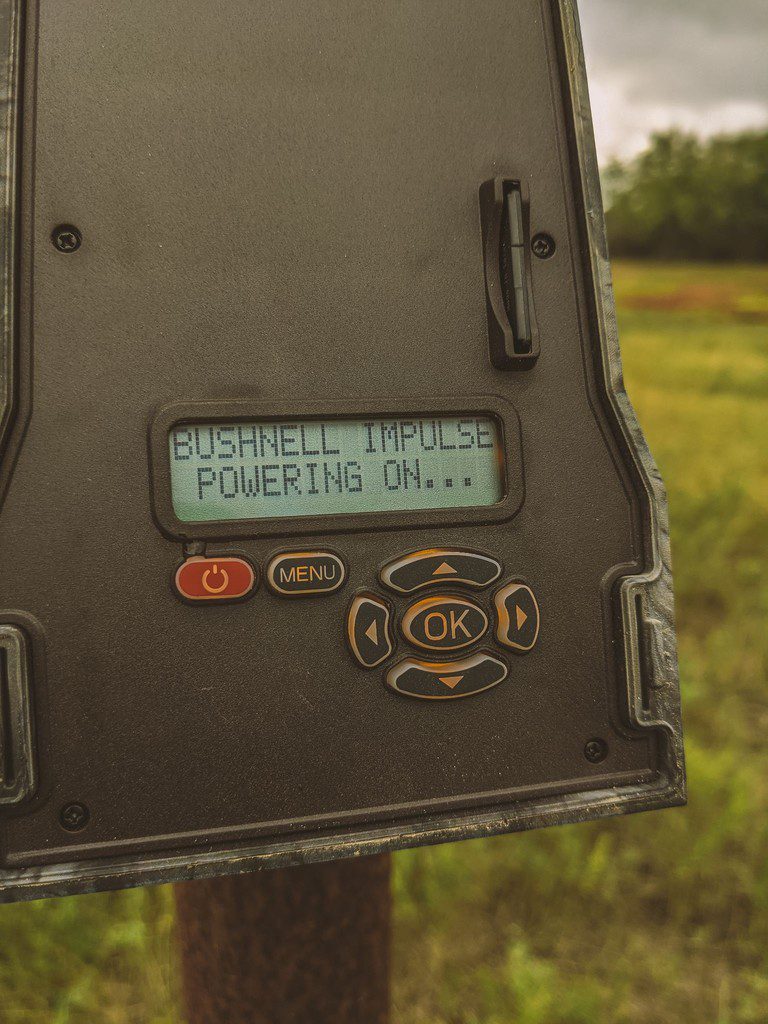
I know, it sounds totally ridiculous and simple, but trust me when I say that it only takes getting burned once with no images because you didn’t leave your camera set up correctly. Each camera is different from the next and it’s important to understand all of the settings, especially flash or infrared settings, time interval between photos and how to arm it. Also, check to see what the manufacturer says about maximum memory card size. I once ran a camera in the Hill Country for over a month with a 64 gig card in it, thinking that I would pull it with thousands of photos. Little did I know that particular camera only allowed for up to a 32 gig card. So, a month of 0 photos was a gigantic bummer and lack of information. Lastly, be sure to make sure that your memory card is not switched to “lock” on the side. If the card is locked, no photos or videos will get copied to the SD card(speaking from experience).
Get out there, hang some cameras and enjoy those monster velvet bucks!


